I’ve been playing hybrid kits on gigs for years, and I’ll be honest: the first few times felt like juggling two instruments and half a PA stack at once. Over time I developed a setup and a checklist that gets me from car to stage, soundcheck to takeoff, with minimal panic and maximum tone flexibility. Below I walk through the practical decisions I make for a reliable, gig-ready hybrid acoustic/electronic drum kit — what I use, how I route it, how I manage quick tone changes, and the small workflow hacks that save time and keep the music moving.
Why go hybrid?
Hybrid kits let you keep the feel, dynamics and stage presence of acoustic drums while adding electronic sounds, samples and instant patch changes. For me it’s about being able to switch from a vintage-sounding ballad snare to a tight electronic backbeat within a set, or layer samples under an acoustic hit to cut through a busy mix. The trick is making it seamless — both physically and sonically.
Core components I use and why
Here are the building blocks I bring to every hybrid gig. I choose gear that’s roadworthy, easy to swap, and predictable under pressure.
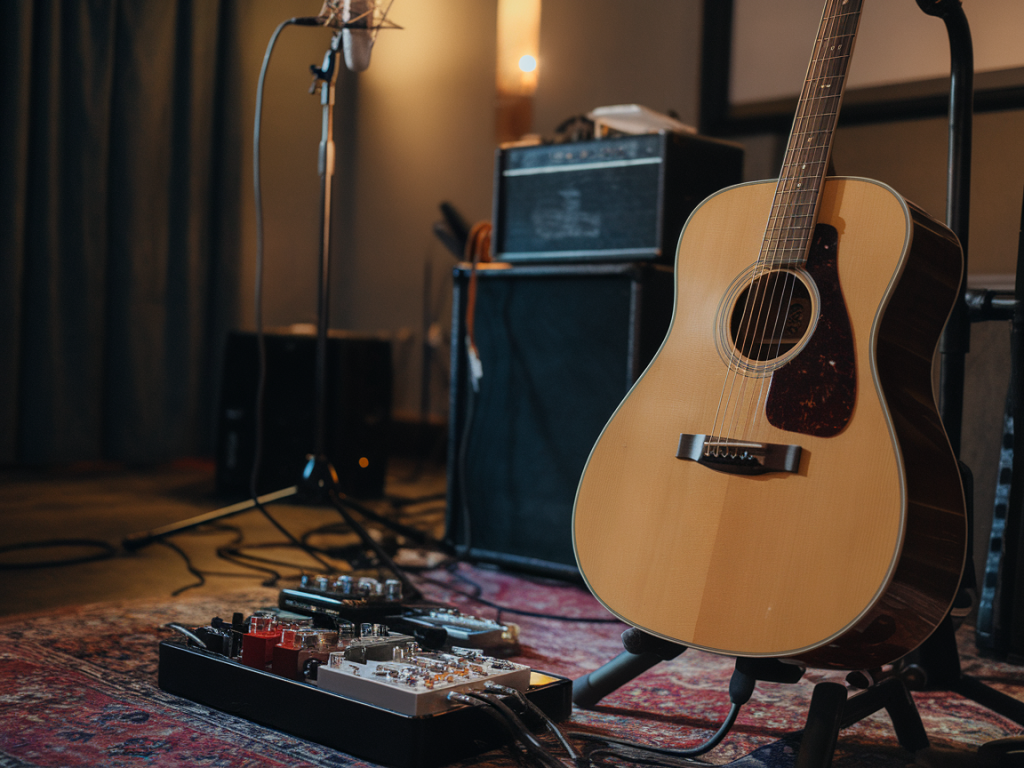
Acoustic kit — my main kit (tuned and mic’d) remains the center. I don’t overcomplicate the acoustic side: kick, snare, a couple of toms and a couple of cymbals. You need space to play.Electronic pad(s) — I usually add a Roland SPD-SX or Yamaha DTX6 for reliable sampling and zone splits. These units are rugged and give quick access to multisamples.Triggers — Rim and head triggers (e.g., Millenium, ddrum) on snare and kick give consistent MIDI/trigger info and let me layer samples under acoustic hits.Module / sampler — I run either the SPD-SX or a small modelling module like the Roland TD-50 multi-module, or a laptop with Ableton Live when I need deep editing and scene changes.Interface / DI — A simple stereo DI or small mixer (2-4 channels) with individual level trims for electronic outputs. I also carry a spare DI box.Monitoring — In-ear monitors (IEMs) or foldback wedge depending on the venue. IEMs give the best consistency for hearing samples and click.Controller / MIDI footswitch — A footswitch (e.g., Boss FS series or MIDI footcontroller like Behringer FCB1010) to change patches, start backing tracks, or trigger samples hands-free.Physical setup: placement and ergonomics
Where you put everything matters. My goals are accessibility, comfort, and keeping the acoustic layout intact.
Place pads where they don’t obstruct cymbals or natural stick paths. I often mount an SPD-SX on a clamp off the hi-hat stand or on the second rack arm behind my snare — reachable but not in the way.Keep the foot trigger for the kick if you use a beater-trigger — I mount it inside the kick as a backup rather than outside where it can get knocked.Group electronic outputs together for easier cable runs to the front-of-house (FOH) or my DI/mixer. Label all cables with gaffer tape and a permanent marker.Signal flow and FOH friendliness
My overriding rule: make it easy for FOH. They’ll thank you, and you’ll get better sound faster.
Send the acoustic kit mics separately as usual. Send the electronic module’s main stereo output to a DI or line input at FOH.If I want FOH to mix samples and acoustic separately, I bring a small mixer or DI with two outputs: stereo sample output and an aux send for triggered sounds.Use DI/line-level outputs rather than a mic feed for modules. It’s cleaner and less heroic EQing is needed.Quick tone changes: presets, groups and MIDI mapping
Switching tones between songs or between sections is where hybrid kits shine — if you plan ahead.
Create program banks on your module that mirror setlist flow: e.g., Ballad, Groove, EDM Drop. Name patches clearly and make backup copies.Use MIDI program changes from a footswitch to jump between patches. I map footswitches to change entire kits or just snare sample banks depending on the song.Zone your SPD/trigger so one pad or trigger can cycle between multiple layers (e.g., rim clicks, snare top, snare ghost sample) if you need on-the-fly variation.Monitoring and click management
Samples and click tracks are often the backbone of hybrid gigs. Make them reliable and unobtrusive.
Send a dedicated monitor mix with click and sample levels. If you use IEMs, give yourself a separate sample level so the drummer can hear layering without bleeding into the rest of the band.Have a mute/solo footswitch mapped so you can preview samples without sending them to FOH — useful during soundcheck and quiet moments.Redundancy and backups
Expect failures and plan around them. Over the years, the things that saved my gig were spares and simple fallbacks.
Always bring spare cables, a second footswitch, an extra pad or trigger cable, and a small analog click source (phone with headphones as last resort).Export and carry audio versions of critical samples as WAV/MP3 on a phone or USB drive — if the module dies, you can play files from a laptop or phone through FOH.Label everything. If a cable goes to the wrong channel, you don’t want to be tracing it mid-song.Soundcheck routine I use every time
My soundcheck is fast because it’s rehearsed. A 15-20 minute routine covers the essentials.
Stage check: position and secure pads, triggers, and mounting hardware.Connections: confirm all outputs to FOH and monitor sends, check phantom power if using condenser mics.Patch check: walk through preset changes with the footswitch, trigger each pad and each acoustic mic to confirm levels and triggers.Monitor balance: get a quick listen to click/sample balance and request minor FOH adjustments.Small hacks that make life easier
Here are the tiny habits that feel like magic on stage.
Use gaffer tape or colored tape to mark trigger zones and cable lengths — faster setup and teardown.Create a “gig mode” folder on your module with only the patches you need; it’s less distracting than scrolling through hundreds of sounds.Number your setlist patches and write the MIDI program number next to each song on the printed setlist.Quick comparison table: common samplers/modules
| Unit | Strength | When I use it |
| Roland SPD-SX | Rugged, great multisampling, easy pad layout | When I need fast performance sampling and pad triggering only |
| Yamaha DTX6 / EAD10 | Excellent integration with triggers, natural acoustic layering | When I want quick layering under acoustic hits |
| Laptop + Ableton | Ultimate flexibility and deep editing | When I need advanced scene changes, backing tracks, and complex MIDI routings |
Setting up a hybrid kit for gigs is about prioritizing what matters: consistent feel, predictable electronics, and clear communication with FOH. The gear is only part of it — the rest is workflows, labeling, backups and rehearsed soundchecks. If you want, I can share a downloadable checklist I use backstage, or walk through my Ableton template for hybrid kits — just say which format you prefer.