I often find myself trying to get the best of both worlds: the natural thump and resonance of an acoustic kick, plus the consistent attack, texture or punch of a sampled sound I’ve crafted on the Roland SP-404. Over the years I’ve developed a practical workflow to trigger an SP-404 (or its samples) from an acoustic kick trigger while keeping the acoustic drum’s character—then tune, EQ and process both sources so they sit as one cohesive kick. Below I share the exact steps, settings and tricks I use in the studio and live. This is written from real sessions, not theory, so you can replicate it quickly.
What we’re aiming for
Short version: use a piezo/trigger on the acoustic kick to reliably fire a sample from your SP-404 chain (or a module that feeds the SP-404), capture the acoustic mic signal, then blend/tune/process both so they match in pitch, transient shape and tone. The goal is one unified kick that keeps low-end weight and natural sustain while gaining the exact sample character (punch, saturation, lo-fi texture) you crafted on the SP-404.
Gear and routing options (practical choices)
Here are the typical pieces I use; you don’t need all of them but they give you reliable routing options:
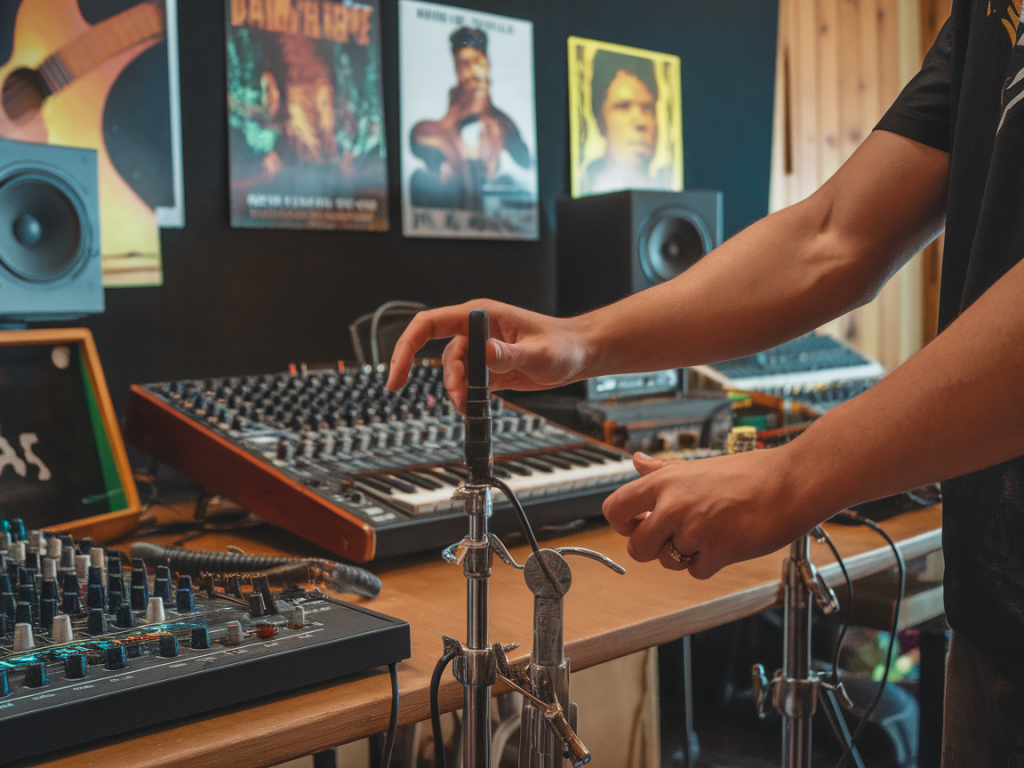
Acoustic kick with a reliable trigger: piezo trigger or dedicated hoop trigger (RT-30, K&K, Roland RT-series, Ddrum acoustic triggers).Trigger-to-audio path: either a small drum module (Alesis SamplePad, Roland TD brain) or a trigger-to-MIDI converter if you want to use MIDI to sequence a sampler. Some setups use a simple trigger-to-line box (e.g., Ddrum Trigger Interface) to convert the piezo pulse into a clean hit signal.Roland SP-404 (or SP-404MKII) as the sample player/effects engine.Kick mic (AKG D112, Shure Beta52, Audix D6, or a small capsule inside the drum) and a room/overhead if you want ambience.Interface/mixer to record both the mic and the SP-404 output. If playing live, send both to the FOH or PA channels.Two common routing choices:
Trigger → drum module (or trigger interface) → SP-404 line input. Acoustic mic → mic pre/FOH. SP-404 sample plays in sync with the acoustic hit.Trigger → trigger-to-MIDI converter → SP-404 (if you have MIDI-capable sampler), or trigger a drum module assigned to play the SP-404 sample via line out. Acoustic mic is independently routed.Trigger setup: placement and sensitivity
Placement and settings on the trigger are the foundation. I always test and listen in context.
Place the trigger on the beater side (inside the shell or on the beater rod) if you want consistent attack; place on the batter head near the beater for most reliable hits.Start with medium sensitivity and raise until consistent hits are triggered even on ghost notes, but watch for false triggers (cymbal/bleed). Use the threshold control to eliminate crosstalk.Use the trigger’s crosstalk filter or play with the module’s channel settings (hold, retrigger, sample decay) to avoid double triggers on fast rolls.Test with brushes, soft mallets and sticks: make sure the trigger reacts musically to dynamic changes you want to keep.Microphone technique and acoustic preparation
With the trigger doing the sample firing, you still need a clean acoustic capture to blend. Here’s my standard mic/prep checklist:
Dampen where necessary: use a small pillow, moon gel or tape to control excessive ring but keep some resonance for body.Mic close to the beater or front head (just inside the hole if using front mic) for attack + beater click. For subweight use a second mic inside low in the shell or a dedicated sub mic.Phase check! The SP-404 sample often has its own phase. Flip phase on the mic channel and nudge the sample’s start time (or shift the sample in DAW) until peaks line up and low-end sums, not cancels.Reduce bleed by moving toms/cymbals slightly or using gobos if necessary—especially important live.Matching pitch and transient: tuning the acoustic to the sample
This is where many mixes fall apart. A sampled kick can have a very specific pitch and transient shape; the acoustic drum needs to complement that.
Find the sample’s fundamental frequency. Use a spectrum analyzer (Voxengo SPAN, Logic’s FFT) or your ears. Most electronic kick samples sit 40–80 Hz for sub, with a mid punch around 80–200 Hz.Tune the acoustic head to match that fundamental. Loosen or tighten the batter head in small increments and tap to test. Aim to be within a semitone or two of the sample—phase and EQ will do the rest.If tuning the shell doesn’t get you close, use pitch adjustment on the SP-404 sample (transpose or pitch knob) so the sample and acoustic fundamental lock together. Slight detune adds character; big differences cause odd beating.Adjust the sample’s attack (if your sample engine allows) so it complements—not fights—the acoustic beater. If the sampled attack is too strong, reduce its transient with the SP-404’s envelope or add a transient shaper on the sampled signal.Processing chain (how I treat each element)
I treat the signals separately and then glue them. Typical chains:
Acoustic mic chain: high-pass at 20–30 Hz to remove rumble, gentle low-shelf lift where the acoustic body lives, subtractive mid cuts to remove boxiness (300–600 Hz), small boost for beater click (3–5 kHz). Light compression to even out dynamics; bus compression later to glue with the sample.SP-404 sample chain: use the SP-404’s onboard filters and pitch first. In DAW or mixing desk, add a transient shaper to adjust attack (positive for more click, negative to reduce it). EQ the sample so its mid-punch complements the acoustic body—often boost around 60–120 Hz and cut any muddiness overlapping the acoustic shell.Layering balance: set the sample level so the attack feels present but the acoustic mic provides the low-end weight. In many cases I blend 60–70% acoustic weight and 30–40% sample attack, but this depends on style.Glue bus: send both signals to a bus, lightly compress (2:1, 4–8 dB gain reduction) and sometimes saturate (tape/saturation plug-in or SP-404’s vinyl/saturator) for cohesion.Dealing with timing and phase
Timing and phase are the silent killers of a layered kick. If your layered signals are out of sync, you’ll get cancellation or flamming.
Align the transient peaks manually: nudge the sample forward/back a few milliseconds so the attack lines up with the mic’s initial transient.Flip phase on one signal and listen for the most solid low-end. Use small nudges while toggling phase to find the sweet spot.Use a transient shaper to slightly delay one element’s perceived attack (reducing its attack or pushing its sustain) if micro-adjustment isn’t enough.SP-404 specific tips (effects and textures)
The SP-404 has character. I use it for coloration as much as for raw samples.
Use the SP-404’s pitch controls to harmonically match your drum. A small pitch shift can make a sample sit perfectly under a tuned acoustic shell.Try the vinyl/lo-fi effects on the SP-404 to add grit and midrange presence—this helps the sample cut without boosting harsh highs.Delay and reverb should be subtle; a short slap or plate helps the kick sit in a mix but don’t drown the transient.If you use the SP-404’s compressor, set it gently. You want to glue the sample’s dynamics to the acoustic drum, not squash it into lifelessness.Quick reference table: starting points
| Parameter | Starting setting |
| Trigger sensitivity | Medium, threshold high enough to avoid cymbal bleed |
| Microphone | Inside by beater / D112 or Beta52 |
| Acoustic tuning | Match SP-404 fundamental ±1–2 semitones |
| Sample pitch | Transpose small increments to match acoustic |
| Transient shaping | Sample: +/− attack to taste; Acoustic: subtle sustain control |
| Bus compression | 2:1, 3–6 dB gain reduction, slow attack, medium release |
If you want, I can give specific SP-404 effect chains for a few common sample types (e.g., vintage 808-style thump, punchy indie rock kick, or electronic clicky techno kick) and a checklist for live patches so your FOH sound matches your studio patch. Tell me your target sample style and your exact trigger/module setup and I’ll tailor settings you can paste into your session.