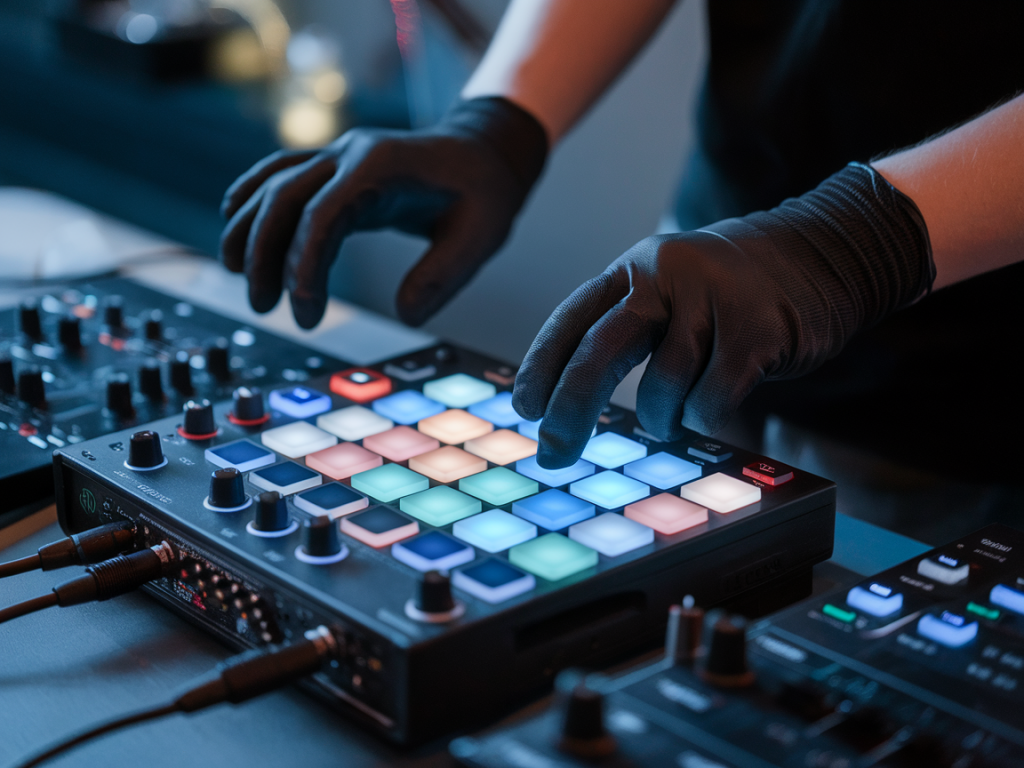
I’ve spent countless gigs and sessions refining pad setups so I can move between songs without thinking about which pad holds that vocal chop or which bank has the rim click sample I need. Mapping an SPD‑SX (or similar sample pad) alongside a MIDI pad bank for seamless live transitions is one of those practical skills that pays back every time you play live. Below I’ll walk you through my workflow and the exact settings I use to get zero‑latency feel and bulletproof layer recall — from sample prep to MIDI messages, pad sensitivity and troubleshooting.
Plan your sets like a map, not a pile of samples
Before touching the SPD‑SX or your MIDI controller, sketch your setlist and identify the samples you need for each song: one‑shots, loops, stingers, cues, and layer swaps. I build a simple table on paper (or a note on my phone) that lists song, bank, pad number, sample name, and whether it needs to be choke, looped, or one‑shot. This minimizes fumbling on stage.
Decide which device is the master for changes. I usually make the SPD‑SX the sound engine and use a compact MIDI pad controller (Novation Launchpad, Akai MPD, Arturia BeatStep) to send Program Change and CC messages to the SPD‑SX. That way the SPD‑SX remains the local audio source, which reduces routing complexity and latency.
Sample prep and naming conventions
Clean sample names and consistent lengths radically simplify mapping. I export one‑shots with a short silent lead‑in (~5–10ms) and loops with tight loop points. Name files like “01_SongA_Kick.wav”, “02_SongA_VoxStab.wav”. On the SPD‑SX I load samples into banks that match your setlist order — Bank A = songs 1–4, Bank B = songs 5–8, etc. This keeps muscle memory aligned with bank names.
SPD‑SX core settings for reliability and low latency
MIDI mapping: program changes, bank switching and CCs
The SPD‑SX responds to Program Change (PC) and Bank Select messages, plus certain CCs depending on firmware. I set up my MIDI pad bank so that one row of pads sends Program Changes that point to the SPD‑SX kits/banks. Another row sends CCs for filter sweeps, volume swells, or to stop loops with Note Off/CC messages.
Example mapping table
| Controller Pad | MIDI Message | SPD‑SX Target | Purpose |
|---|---|---|---|
| Pad 1 | Bank MSB 0 / PC 1 | Kit A01 | Load song 1 bank |
| Pad 2 | Bank MSB 0 / PC 2 | Kit A02 | Load song 2 bank |
| Pad 5 | Note C1 (Choke Group 1) | Kick One‑Shot | Trigger kickoff |
| Pad 6 | CC7 (Volume) 127 | Master level swell | Instant volume swell |
Layer recall tricks for no perceived latency
Perceived latency is often a combination of audio latency and human reaction time to device switching. To make transitions feel instant I use these techniques:
Hardware vs USB MIDI and latency management
USB MIDI can be perfectly fine, but it’s important to know where latency creeps in. USB introduces negligible MIDI latency on modern controllers, but audio routing through a DAW or USB audio interface can add buffer latency. My rule:
Pad feel, velocity curves and stage reliability
Velocity curves make a huge difference to playability. I tune the SPD‑SX velocity response to match my playing dynamics — softer pads benefit from a more compressed curve so light taps still trigger. On controllers, calibrate pad pressure and sensitivity so they don’t double‑trigger under cymbal bleed or stage vibration.
Backup plans and redundancy
Always have a fallback. I keep a small second controller with preprogrammed PCs and a USB stick with my SPD‑SX backup kit. If your controller dies, you can still trigger the SPD‑SX manually or with another pad device. Also, print or screenshot your mapping grid and keep it near the kit for quick reference.
Troubleshooting common issues
Mapping an SPD‑SX and a MIDI pad bank for reliable live transitions is as much organization as it is technical setup. A clear map, consistent naming and kit layout, reliable MIDI messages, and good hardware redundancy are the pillars that make transitions feel seamless. Play the setup in rehearsal until the muscle memory is there — when you trust your setup, the performance breathes easier and you can focus on groove and musicality.