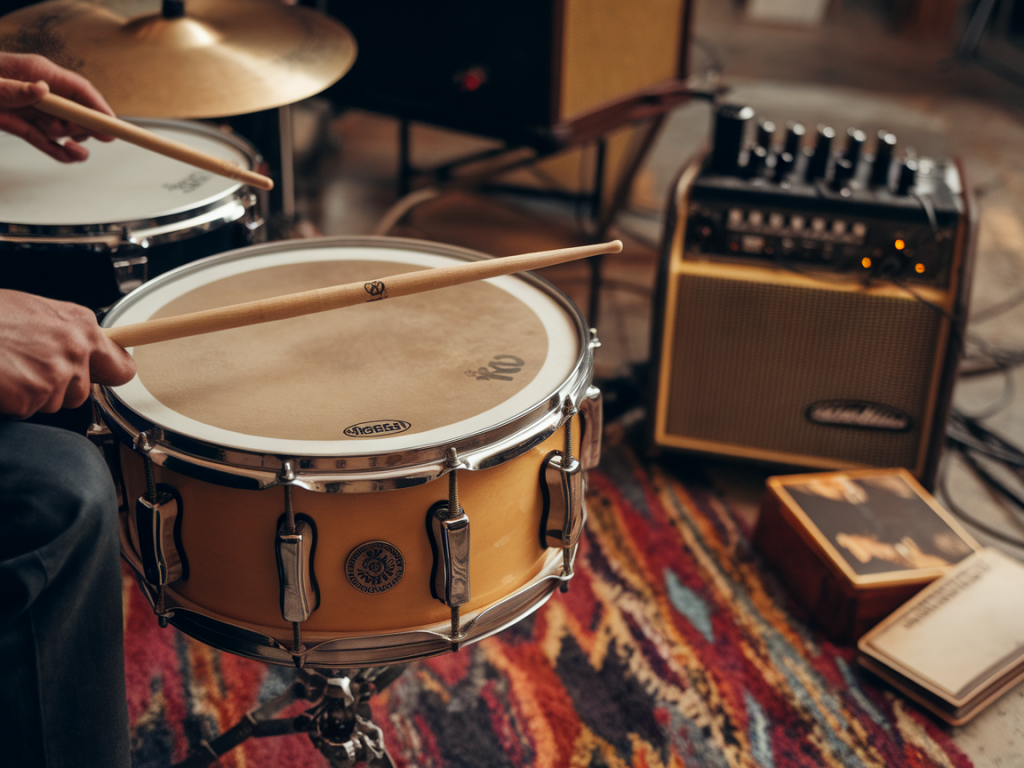
I love the sound of vintage toms: warm, round fundamental, a quick attack that still sings, and that woody decay that sits beautifully in a mix. But what if your kit has thin-shelled toms—cheap ply or modern poplar—where the attack is brittle and the sustain is thin? Over the years I’ve developed a few reliable studio tricks to coax that classic vintage tom tone from less-than-ideal shells. Here I’ll walk you through a practical workflow using tubed preamps, backing tapes (or tape saturation emulation), and targeted damping. These are techniques I use regularly in sessions and teaching, and they’re meant to be repeatable in real-world tracking situations.
Understanding what you’re chasing
Before we touch gear, it helps to know the characteristics of the tones we’re after. Vintage toms typically have:
- Warm fundamental (low-mid presence around 100–400 Hz)
- Controlled attack — not too clicky but with definition
- Musical sustain that decays evenly without metallic ringing
- Harmonic richness that makes the tom sit well in a mix
Thin shells tend to be lacking in the fundamental and will produce a pronounced, sometimes harsh click and an uneven, short decay. We have to add weight and tame the harshness without killing the life of the drum.
Mic choice and placement
Mic selection matters more than you might think. On toms I favour mics that capture body and deal well with transient detail:
- Sennheiser MD 421 — great punch and low-mid warmth
- Shure SM57 — accessible and focused on the attack when close
- Electro-Voice RE20 — smooth top-end and good proximity effect
- Coles 4038 or Royer ribbon — for sweet vintage tones if you want softer attack
Placement rules I use:
- Start close (3–6 inches off the batter head) angled toward the edge to balance attack and body.
- For warmer tone, move slightly towards the center; for more snap, move toward the batter head edge.
- Add a room mic for natural decay if you have a treated space — great for capturing the tape/reverb blend later.
Tubed preamps: why and how I use them
Tubed preamps are not a miracle cure, but they’re a fantastic color tool. A tube preamp can: add gentle even-order harmonics, glue the sound, and round off digital harshness. My go-to tubed colors for toms are the Universal Audio 610-style warmth, and the silky saturation you get from boutique tube preamps.
Practical settings:
- Gain: aim for healthy levels without clipping; 0 to +6 dB of apparent saturation often sounds sweet.
- Drive: if the preamp has a drive or saturation control, set it subtly. You want harmonic enhancement, not overt distortion.
- EQ on the preamp: gently boost low-mids (around 120–250 Hz) if you need weight; cut around 2.5–5 kHz if the attack is brittle.
Tip: if you only have solid-state pres, add tape emulation post-capture — more on that in the next section.
Backing tapes and tape saturation — analog and digital approaches
Tape does two things for toms: it smooths transients and adds harmonic saturation, helping the fundamental bloom. If you have access to a tape machine like a Studer or an Otari, running the tom close to tape and printing back into the DAW yields immediate warmth. If you don’t, use high-quality tape emulation plugins (UAD Ampex ATR-102, Waves J37, Slate VTM, or Softube Tape).
Workflow I follow:
- Record the tom DI (dry mic signal) through the tube preamp to capture the core tone.
- Send the recorded track through tape—either hardware or a plugin—on a bus. Start with light tape settings and 7.5–15 ips equivalents; lower speeds (7.5 ips) emphasize low-end weight.
- Drive the tape slightly harder on fills and heavier hits to get subtle compression and harmonic fullness.
Tip: use tape saturation on a parallel bus rather than committing to it on the track so you can blend the saturated body with the original transient detail.
Targeted damping: materials and placement
Damping is where the physical treatment of the drum pays off. Instead of smothering the head, targeted damping tames unwanted overtones while leaving the fundamental and attack intact. I favour small, strategic dampers over full rings when I want to keep life in the tom.
| Material | Effect | Use case |
|---|---|---|
| Moon gel | Subtle control, removable | Place near edge to cut a specific ring |
| Small felt strips | Warm, natural damping | Between batter and hoop for vintage tone |
| Gaffer tape / masking tape | Precise control of attack/decay | Short, focused rings without choking fundamental |
| Ported rings (thin silicone) | Broad damping, reduces sustain | When shell resonance is overwhelming |
How I apply them:
- Start with a single small gel at the edge and play the drum. Add or move as needed. Often just one or two small points is enough.
- Try a thin felt strip under the batter hoop if you want warmth without killing attack.
- For very bright attacks, use a small tape patch near the bead to soften the initial click.
EQ and dynamics — surgical but musical
Once you’ve captured tone with mic/pre/tape/damping, apply light processing. My typical chain looks like: subtractive EQ → gentle compression/saturation → additive EQ if needed.
- Subtractive: notch any narrow metallic ringing (often 2.5–4 kHz) with a Q of 6–10 and a few dB cut.
- Add warmth: a gentle shelf or bell around 120–250 Hz (+2–4 dB) helps thin shells bloom into more vintage-sounding fundamentals.
- Presence: if the tom needs to cut, a subtle 4–6 kHz boost can help, but be careful—this can bring back brittleness.
- Compression: opt for slowish attack and release for natural sustain shaping. Or use parallel compression to add body without squashing the transient.
Room and reverb: creating perceived size
Thin shells often sound small—so create size with ambience. If you have a good-sounding room, blend a room mic at a distance. Otherwise, use plate or spring-style reverbs with short pre-delay and short to medium decay (250–600 ms) to give the tom body without blurring the groove.
Parallel reverb or EQ’d reverb sends work brilliantly: low-cut the reverb below 300 Hz so you don’t muddy the mix, then blend tastefully until the tom breathes.
Practical session checklist
- Tune the drum to a note that complements the song — don’t expect magic if the tuning is wildly off.
- Choose a mic with a sweet low-mid response (MD421, RE20, ribbon).
- Close mic at 3–6 inches, angled toward the edge; add room mic if possible.
- Run through a tubed preamp, aim for pleasant saturation without distortion.
- Use tape (hardware or plugin) on a bus; try lower speed emulation for extra weight.
- Apply targeted damping (gel, felt, tape) to remove specific rings without choking sustain.
- Light subtractive EQ, gentle compression or parallel compression, tasteful reverb to create perceived size.
In practice, combinations of small adjustments produce big results: a bit of tube saturation, a moon gel at the right spot, and a touch of tape can transform a thin-shelled tom into something you’d be proud to put at the front of a mix. The fun is in experimenting—move the mic a few inches, try a different preamp, switch the gel position. You’ll start to recognize the cause-and-effect quickly and develop your own go-to setup for coaxing vintage warmth from modern, lightweight shells.