I love playing hybrid kits live — the punch and dynamics of a real snare with the flexibility of samples can turn a song from good to unforgettable. Getting a Roland SPD-SX to feel *natural* under your acoustic snare is one of those things that seems fiddly at first, but with the right approach it becomes second nature. Below I walk through the practical steps, settings and creative choices I use to make the SPD-SX trigger match nuance, dynamics and timing of an acoustic snare without feeling like a clunky machine.
What I’m trying to achieve
First, decide what “natural” means for your setup. For me it usually means:
- Immediate response: the sample aligns perfectly with the acoustic hit (no audible delay).
- Dynamic sensitivity: quiet ghost notes and loud accents both trigger appropriate sample layers.
- Preserved acoustic character: the mic’d snare tone remains the core sound — the SPD adds weight, effects or electronic texture.
- Low cross-talk: kick, toms or cymbals don’t accidentally trigger the snare sample.
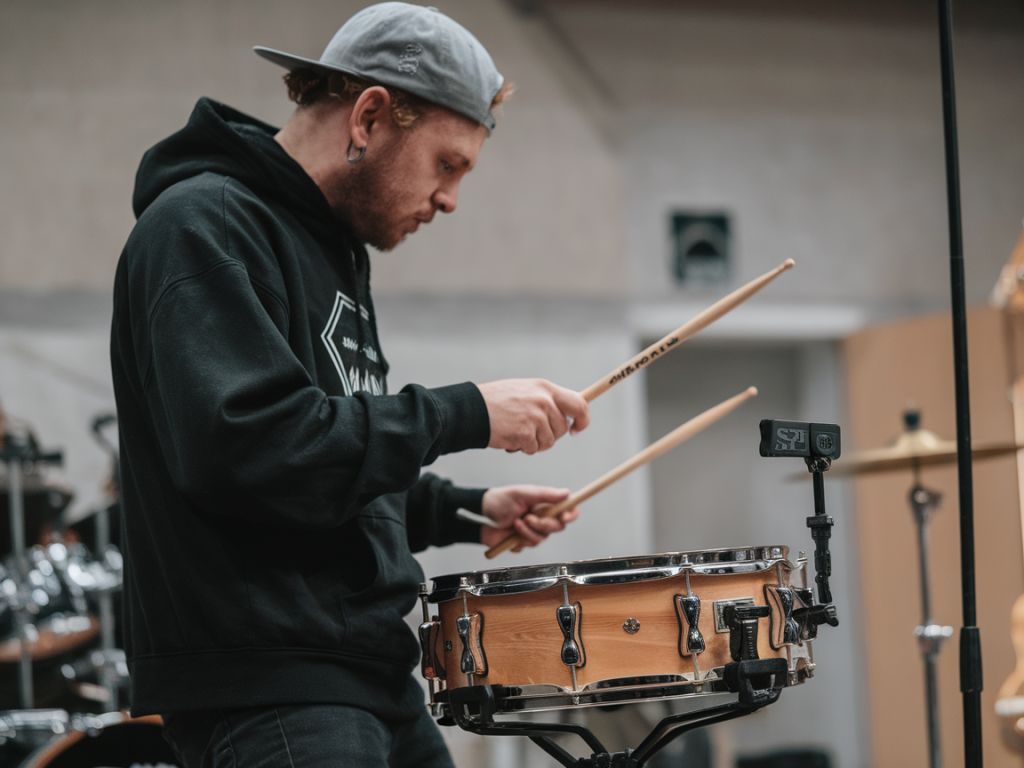
Hardware and wiring basics
I usually run the SPD-SX in one of two common configurations:
- Trigger input from a dedicated snare trigger (piezo) mounted on the shell or hoop — SPD-SX’s TRIG IN jack.
- Use a trigger-equipped mesh pad (or an auxiliary Roland PDX/PDX-8) routed to the SPD-SX and positioned under the acoustic snare — electronically tracked but physically played like the real drum.
If you’re using a piezo on the shell, mount it in a way that picks up rim and head strikes without being too sensitive to cymbal bleed. If you’re using an existing mesh pad or electronic pad under the acoustic snare, focus on position: center to favour full head strikes, nearer rim for rimshots and rim clicks. I prefer a small puck-style piezo on the shell or a thin under-head piezo for minimal intrusion.
SPD-SX settings that actually matter
On the SPD-SX you’ll spend most time in the TRIG, PAD and VELOCITY menus. Here are the settings I tweak:
- Input Sensitivity / Threshold: set so quiet ghost notes are detected but cymbal bleed and nearby tom hits aren’t. Start high, then lower while playing quiet strokes until false triggers appear — then raise slightly.
- Gain/Trim: use this to match piezo output to SPD input — avoid clipping LEDs even for hard strokes.
- Velocity Curve: choose a curve that gives musical response — Linear or slightly Exponential depending on sample. For delicate ghost notes exponential often works better.
- Retrig Time / Choke: set a short retrig/refire reject to prevent sample re-triggering from sympathetic vibrations. But don’t make it too long or fast double-strokes vanish.
- Cross-talk Rejection: engage or increase this if SPD has the option (and set per pad) — this reduces false triggers from hi-hat and kick.
How I map and layer samples
Layering is the secret sauce. Rather than triggering a single full snare sample, I generally layer:
- Short transient sample to add click and attack (low latency, tight envelope).
- Main body sample with natural sustain and tone (EQ’d to fit with the live snare mic).
- Optional low-frequency “thump” or electronic clap on backbeats for extra weight.
Set velocity-switching so the SPD plays different samples or sample layers depending on how hard you hit. For example:
- Vel 1–40: body-only (subtle reinforcement)
- Vel 41–90: body + subtle attack transient
- Vel 91–127: body + strong transient + low thump
This way, ghost notes don’t feel exaggerated and hard accents get the punch they deserve.
Aligning timing and latency
SPD-SX has negligible internal latency, but layering can create perceived timing issues if samples have different pre-ringing. I do two things:
- Choose tight transients: use short transient samples for the attack layer (5–15 ms). These align with the acoustic hit and help the hybrid sound “feel” immediate.
- Shift samples if needed: the SPD-SX allows you to adjust sample start — nudge the body sample a few samples later if the attack layer needs to lead.
Sound-shaping: EQ, gating, compression
I treat the SPD output like another mic channel and process it accordingly on FOH or my own mixer/IEMs:
- EQ: cut frequencies that clash with the mic’d snare (often 200–500Hz boxiness). Add a small boost around 3–5k for snap if the acoustic attack is buried.
- Transient shaping: reduce or increase attack on the electronic layer to sit it precisely with the acoustic transient.
- Compression: use gentle parallel compression on the SPD channel to glue electronic samples to the live sound without squashing dynamics.
- Gating/Sidechain: if the SPD is loud in the snare mic, sidechain the SPD channel so the mic’s transient isn’t drowned — or send SPD to a separate mix only for FOH where it’s helpful.
Mixing strategy on stage and FOH
I typically run two outputs from the SPD-SX:
- Main SPD output to FOH (or a designated channel on the drum sub-mix).
- Aux or headphone mix back to my IEM so I can adjust the SPD blend against my acoustic snare when playing. Hearing the mix is crucial to dialing feel.
Communicate with the FOH engineer: tell them the SPD is a reinforcement, not the main snare. Ask them to blend the SPD subtly under the mic’d snare unless the song calls for a fully electronic snare sound.
Playing technique and tuning matters
Nothing substitutes for technique. Even the best SPD settings will feel off if the physical hits are inconsistent. I focus on:
- Consistent strike location for predictable velocity and tone.
- Proper snare tuning — a well-tuned snare produces clearer transients that the SPD trigger can lock onto more reliably.
- Stick choice and head type — heavier sticks and coated heads change piezo response; account for that when setting thresholds.
Common problems and quick fixes
- Too many false triggers: raise threshold, enable cross-talk rejection, move piezo position, or add a small foam pad between trigger and shell to damp sympathetic vibration.
- Ghost notes don’t trigger: lower threshold, use a more sensitive velocity curve, or boost piezo coupling (double-sided tape, different mounting point).
- SPD sample sounds late: use a tighter attack sample or trim sample start; check routing if sending through external processors.
- SPD overwhelms the mic’d snare: pull back SPD level on FOH or apply EQ notch to remove clashing frequencies.
Favorite tools and sample sources
I use a mix of my own recorded snare layers and commercially available packs. Roland’s built-in library is a great starting point, but I often prefer:
- Samples I’ve recorded from the same snare (mic’d close and room) so timbre matches.
- High-quality transient one-shots from libraries (for attack layers).
- Small synth clap or sub-kick samples for electronic reinforcement where needed.
Quick reference SPD-SX settings table
| Parameter | Starting value | Purpose |
| Input Sensitivity | Medium–High | Detect ghost notes without false triggers |
| Velocity Curve | Exponential/Curve 2 | Musical response for soft-to-loud dynamics |
| Retrig/Reject | 10–25 ms | Prevent double-triggering from bleed |
| Sample Start | 0–5 ms offset | Align attack layer with acoustic transient |
| Layering | Transient + Body + Sub | Maintain natural feel and customizable punch |
Getting an SPD-SX to feel natural with your acoustic snare takes a bit of experimentation — but once you lock in the right trigger placement, threshold, velocity mapping and sample layers, it becomes a transparent enhancement rather than a distraction. Play, tweak between songs, and keep your ear on the mic’d snare as the reference. Small changes in threshold or sample attack often produce the biggest improvements.