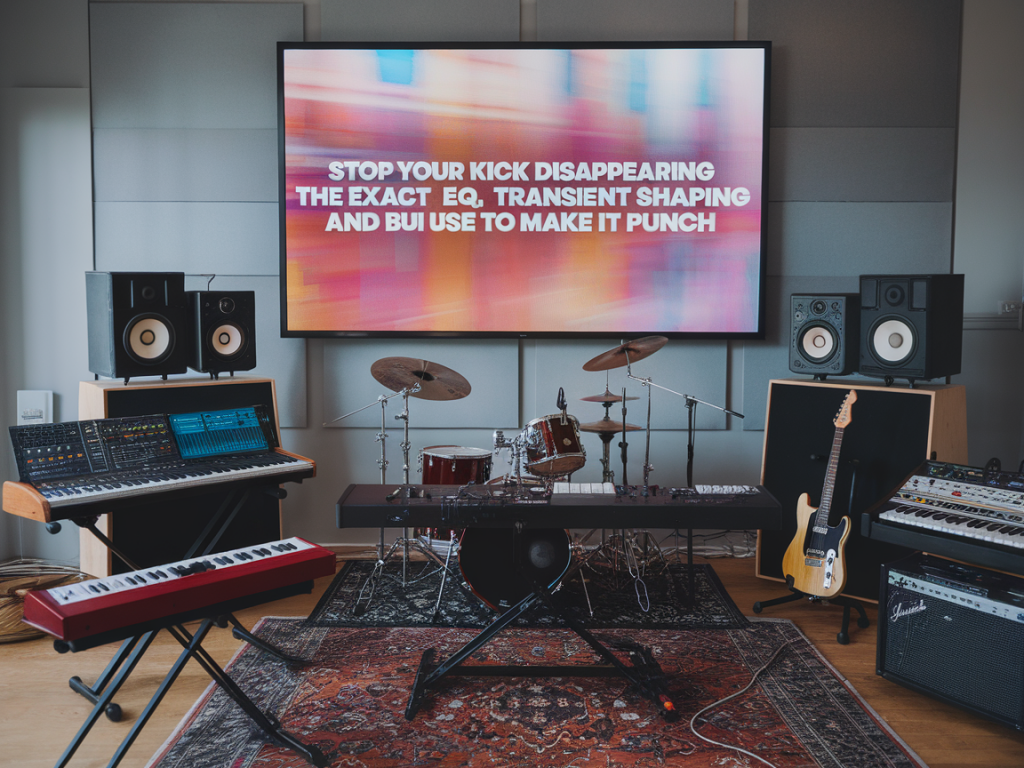
I hate it when a kick that felt massive in the tracking room turns into a polite tap once it hits the mix. Over the years I’ve developed a compact, repeatable chain that gets the kick to cut through without sounding over-processed or fake. Below I’ll walk you through the exact EQ moves, transient shaping settings and buss routing I use most of the time — with plugin suggestions and the reasoning behind each choice so you can adapt it to your kit, sample or hybrid kick.
First things first: listen before you touch
Before any processing I always solo the kick and listen in context. Is the issue lack of attack, lack of low-end weight, masking with bass, or too much bleed in the mic? The remedy changes depending on the problem. That said, the following chain is my default starting point that solves the “disappearing kick” problem in most rock, pop and electronic contexts.
My default chain (in order)
1) Cleanup: high-pass, gates and phase
I rarely HP the kick aggressively, but I remove rumble below where the kick is useful. I typically HP between 20–25 Hz (Q wide) when the goal is maximum weight retention. If the room mic is boomy I might HP at 30–40 Hz. Use a linear-phase HP (FabFilter Pro-Q3 set to Linear Phase) if you’re worried about phase shifting the low sustain.
Phase/polarity: always check the kick’s polarity against the bass and overheads. Flip the phase and listen for low-end reinforcement — many “disappearing kick” issues are simply phase cancellations in the sub region.
2) Surgical EQ — remove problem resonances
Insert a transparent EQ (I use FabFilter Pro-Q3 or UAD Cambridge EQ). Sweep with a narrow Q (1.2–2.5) and cut any ringy frequencies. Common offenders:
Example setting: Pro-Q3 notch at 350 Hz, Q = 2.0, Gain = -2.5 dB. This clears the body so the punch reads more clearly.
3) Transient shaping — make the beater pop
This is where the kick immediately stops “disappearing”. I use a transient shaper (SPL Transient Designer is my go-to for transparent results; iZotope Neutron or Softube Transient Designer are great too).
Typical settings I reach for:
What I’m doing: boosting attack increases the initial beater click that cuts through the mix; reducing sustain shortens the tail so the kick doesn’t compete with the bass or muddy the groove. With triggered samples I pull the attack even higher (+6 to +9) because they lack natural transient energy.
4) Musical EQ — boost for punch and weight
After transient shaping I add broad, musical EQ to taste. My go-to centers:
Example Pro-Q3 settings that work well as starting points:
| Band | Freq | Q | Gain |
| Sub | 60 Hz | 0.6 (wide) | +3 dB |
| Body | 100 Hz | 0.8 | +1.5 dB |
| Click | 3.5 kHz | 1.2 | +2 dB |
These are not magic numbers — use them as a starting point and A/B with the bypassed signal.
5) Compression — buss or track?
I prefer light compression on the kick track itself and more deliberate compression on the kick buss. On the track:
On the kick buss (where the kick, triggered samples and sub-synths meet) I use a slower attack to preserve the transient and a faster release to add bounce. Plugins I reach for: Waves SSL Compressor for character, UAD 1176-style for punch, or FabFilter Pro-C2 for transparency.
6) Parallel processing — distortion and compression
Parallel chains are magic for presence without killing dynamics. I send the kick to two parallel returns:
Routing tip: keep these parallel chains post-EQ but pre-master bus. Label them clearly so you can solo and hear what each is contributing.
7) Final buss chain and limiting
On the dedicated kick buss I usually place a gentle glue compressor (SSL-style or API-style) then a transparent limiter to catch peaks. Typical settings:
This final buss is also where I automate level relative to the track. Often the fix is not more processing but riding the fader to keep the kick consistent in the arrangement.
Quick checklist I use on every kick
One more practical note: small changes add up. A 2–3 dB EQ boost combined with a little transient shaping and 20% parallel saturation will usually bring a timid kick back to life. Avoid overprocessing: if the kick still disappears after this chain, check the arrangement — competing instruments (heavy bass guitar, synth low mids) or poor sample choices might be the real culprit.
If you want, tell me what DAW and plugins you have and I’ll tailor these settings to your tools (I can write exact steps for Logic, Ableton, Pro Tools or Reaper and map the settings to your plugins).